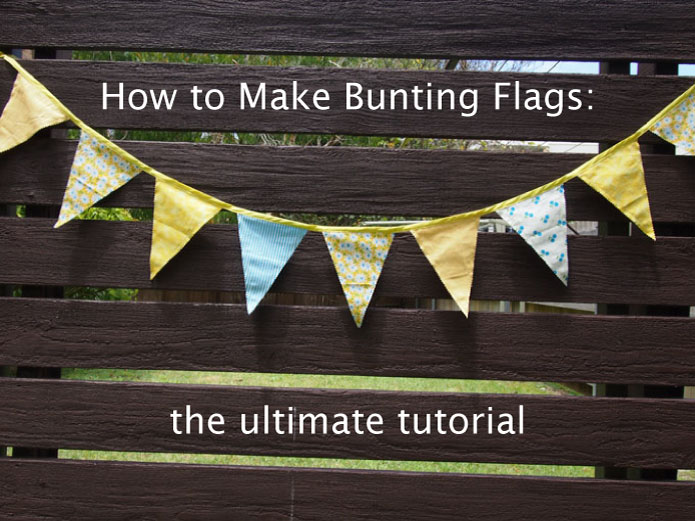
Now that Christmas has passed, I am focusing all of my crafting efforts on our upcoming wedding. I cannot believe I only have four months to make all the bits and pieces for our wedding day! First up are the bunting flags, which will be hung along the aisle for the ceremony. In keeping with our theme, I made them out of yellow and blue fabric, all of which I bought when I went fabric shopping in Tokyo this year. There’s lots of bunting tutorials online, but this one focuses on getting a really neat finish for a double sided bunting flag, with minimal fuss.
What you need (to make 2m of bunting):
- 3m of bias binding (2.5cm wide)
- Fabric for bunting flags
1. Cut out flags using pattern.
Make a triangle shape pattern for the flags with cardboard (16cm x 23cm). Fold your fabric in half, right sides facing. Place the base of the triangle along the fold and trace. To minimise fabric waste, move the triangle upside down to trace another triangle next to the first one. I got five triangles out of this piece of fabric. Cut out using pinking shears. This prevents fraying, which means you don’t have to finish the edges.

2. Stitch the longer edges together.
Pin each flag together, wrong sides facing, ensuring that the zig zag pattern made by the pinking shears match up. Straight stitch along the two longer edges with approximately 1cm seam. Just let the thread continue through each flag, you can cut the thread to separate the flags at the end. This saves time and thread.

3. Baste flags onto bias binding.
This part is a bit painful, but it’s worth it to get a neat finish. Press bias binding in half, then pin the flags on to the inside. Allow 50cm at each end of the bias binding for tying up. Space the flags 2cm apart and you should get about 11 flags onto 3m of bias binding. Then, fold the bias binding over the top and baste everything together.


4. Stitch to finish.
Stitch over the bias binding, very close (about 1mm) to the edge to ensure that the flags are enclosed. Remove basting stitches.


9 comments
[…] Handmade bunting lines up the aisle. Yep, it’s the ones made in this How to make bunting tutorial. […]
[…] – Again, you can make these as small/large/long/short/simple/complex as you wish. Here is one easy tutorial that I […]
[…] 5. Bunting – Here is my super easy bunting tutorial. […]
thanks you so much – i knew it should be easy and your tutorial made it simple!
You’re welcome Shona; it sure is very very easy.
Thank you so much. It is easier than I imagined.
You’re very welcome. Bunting adds a festive feel to any event/room 🙂
Thanks so much looking forward to having a go
Thank you! I had no idea about spacing them out and this has been so helpful.