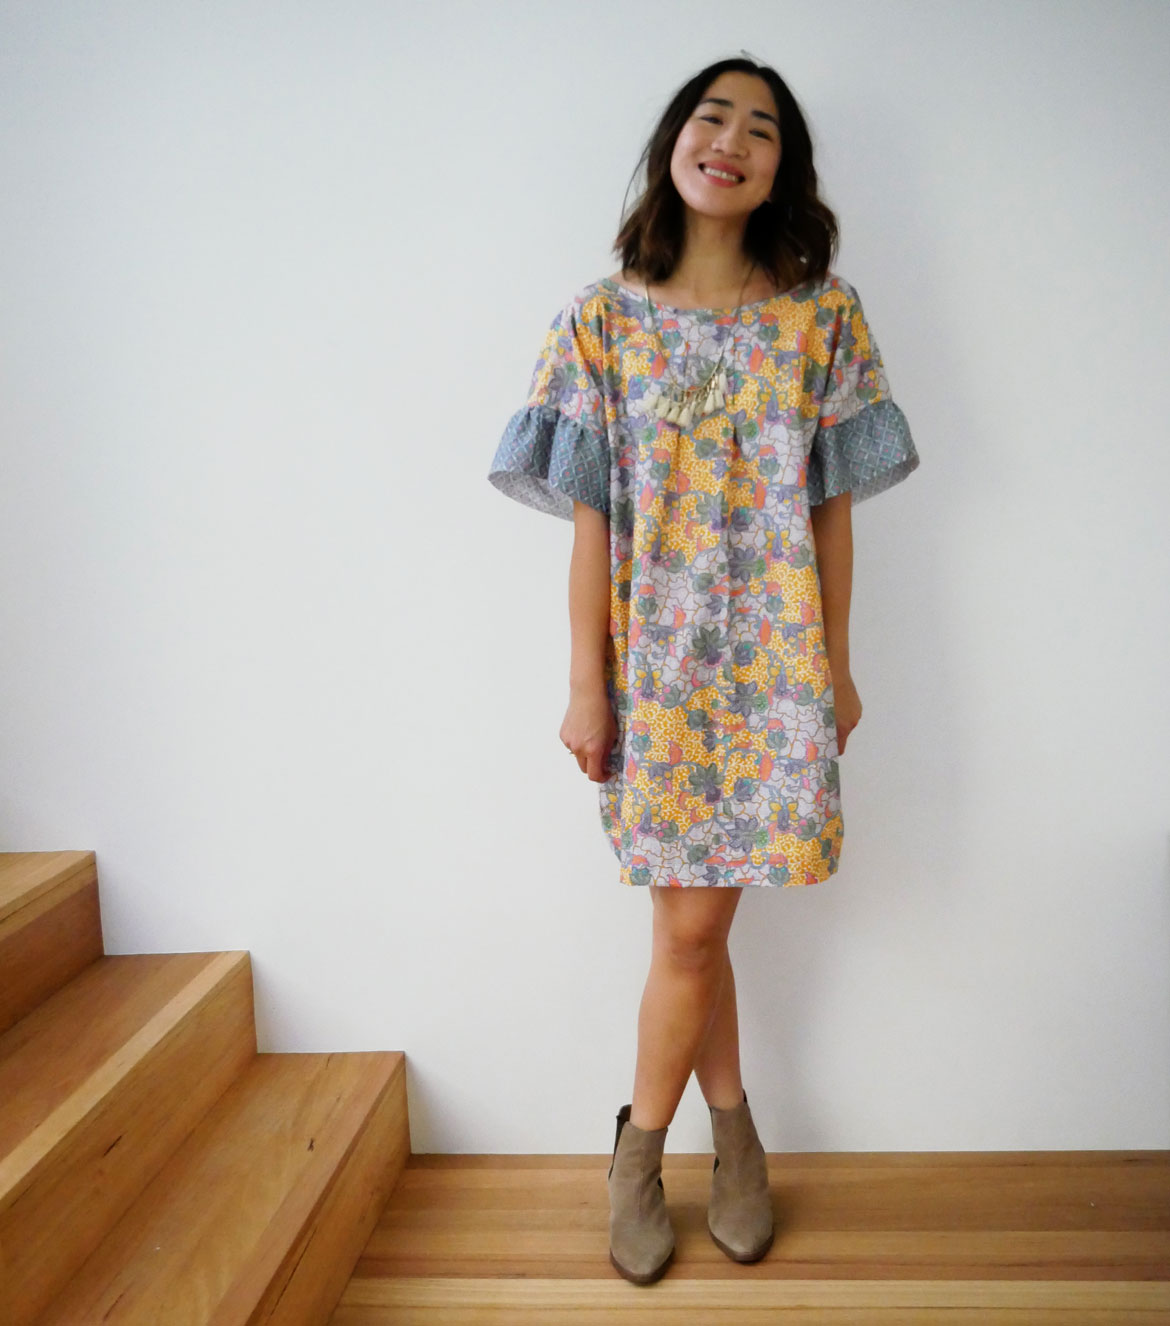
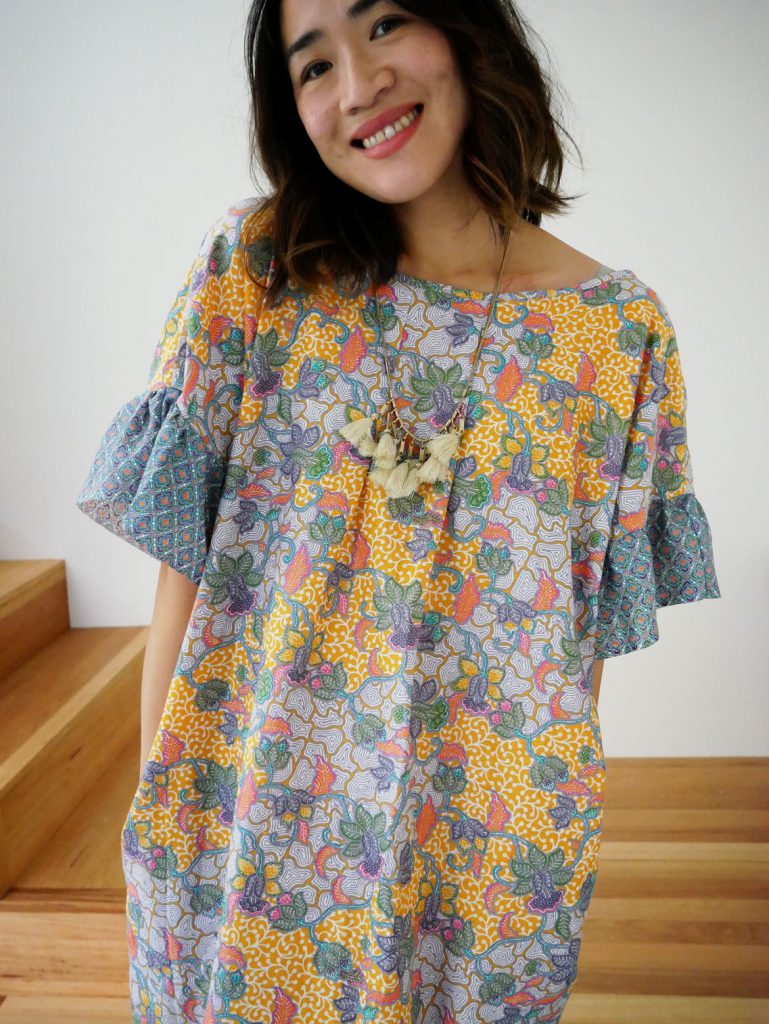
I made my own ruffle sleeve dress pattern after being inspired by a $175 Madewell dress. It had a v-neck line, dropped shoulders and a cute ruffle sleeve…and I thought, I can make that!
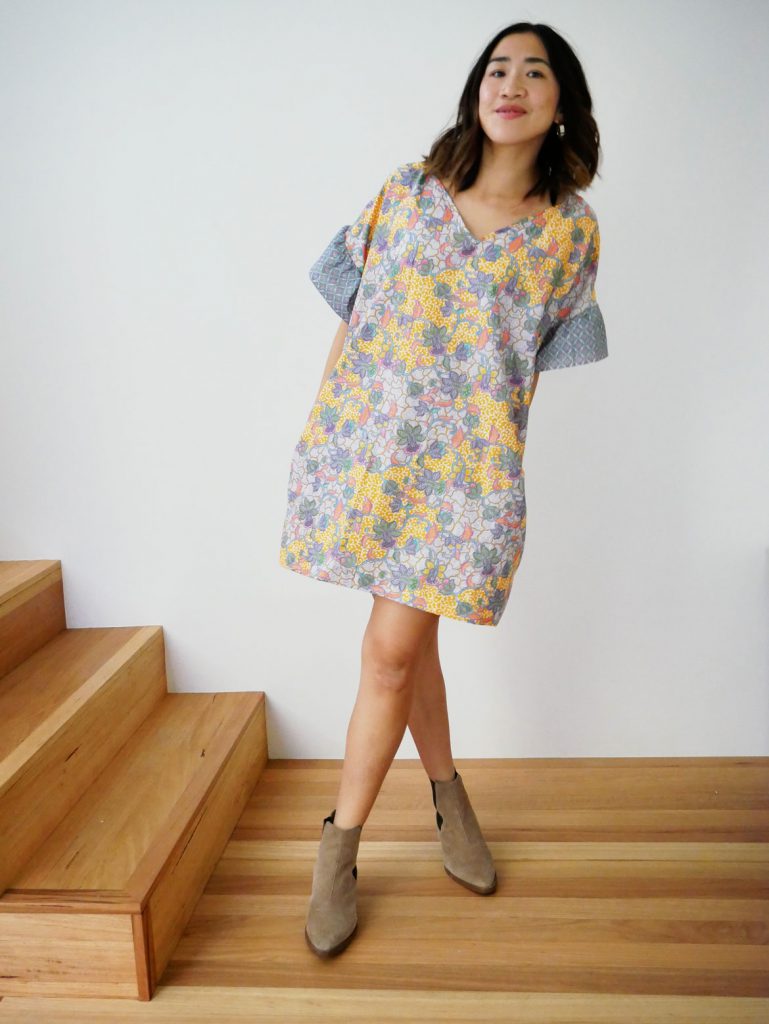
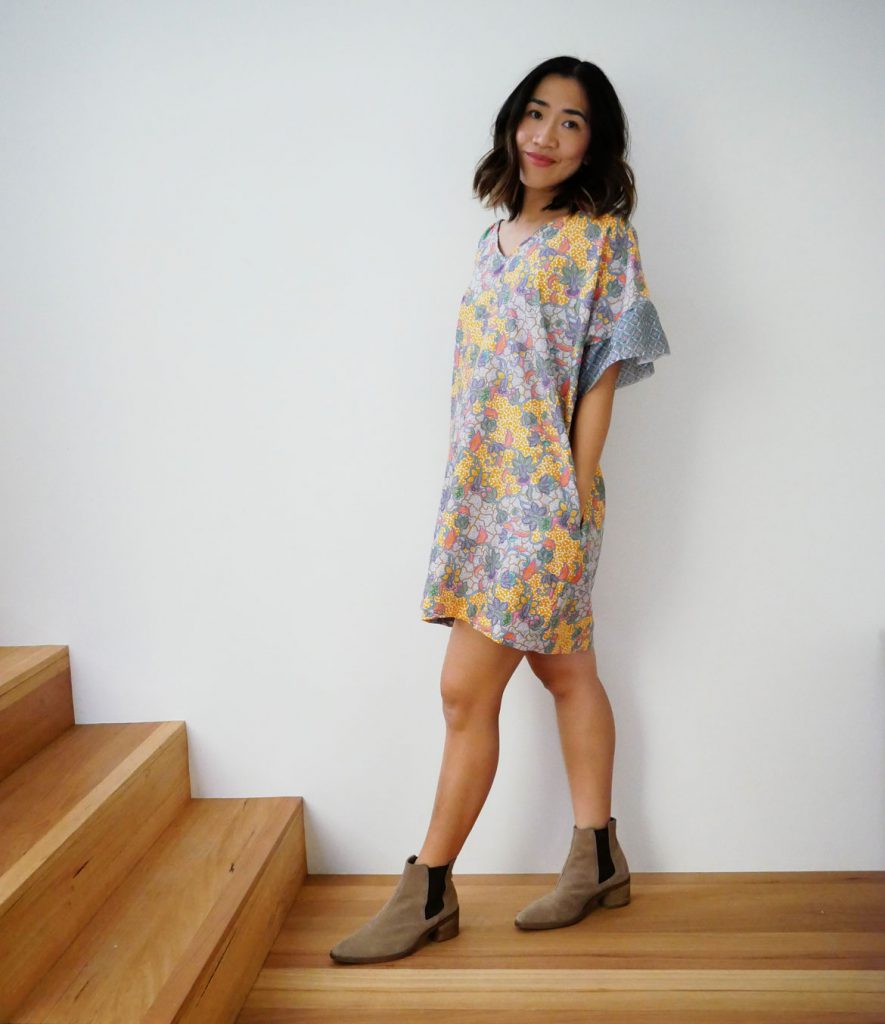
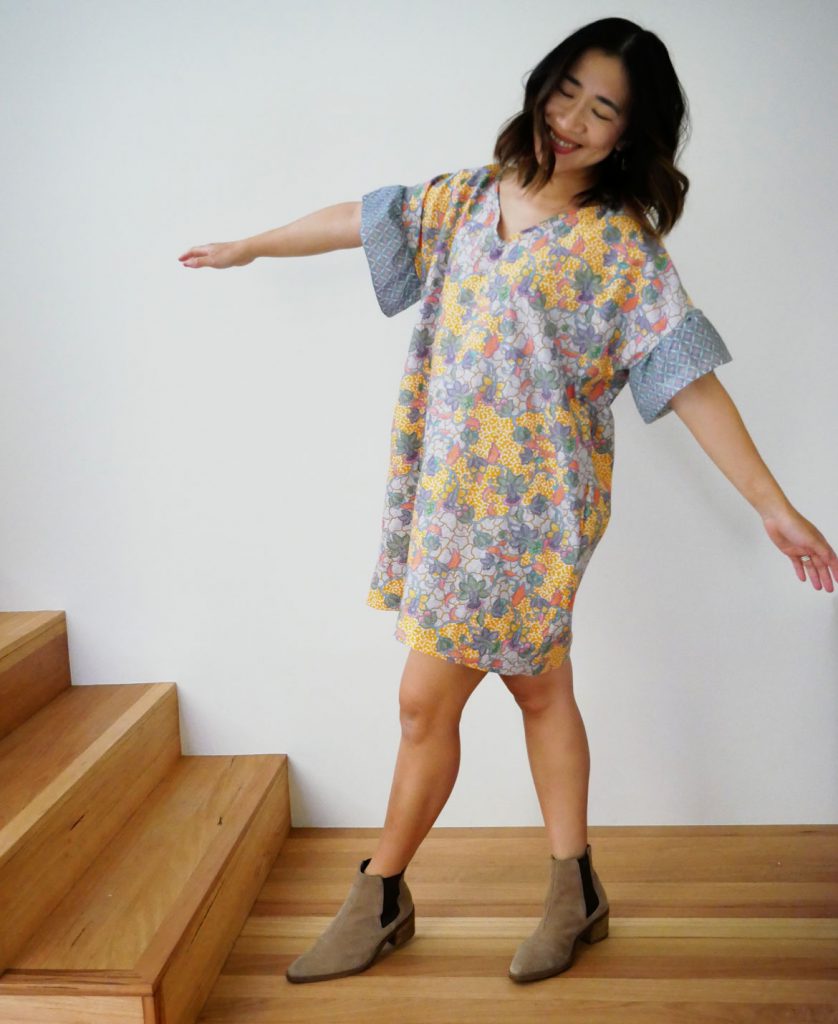
Little Boxy Dress to the Rescue
I used my most popular sewing pattern, the Little Boxy Dress as the base for making my ruffle sleeve dress pattern. If you haven’t done so, make sure you sign up to my free online sewing workshop to make your own Little Boxy Dress sewing pattern! As I demonstrate in this post, it’s a fantastic basic pattern to use as a foundation for making modifications.
Related post: 1200+ Women Make a Little Boxy Dress
It's also such a simple and easy dress, totally worth making, because it's reversible! I might actually prefer my ruffle dress with the crewneck worn in the front...
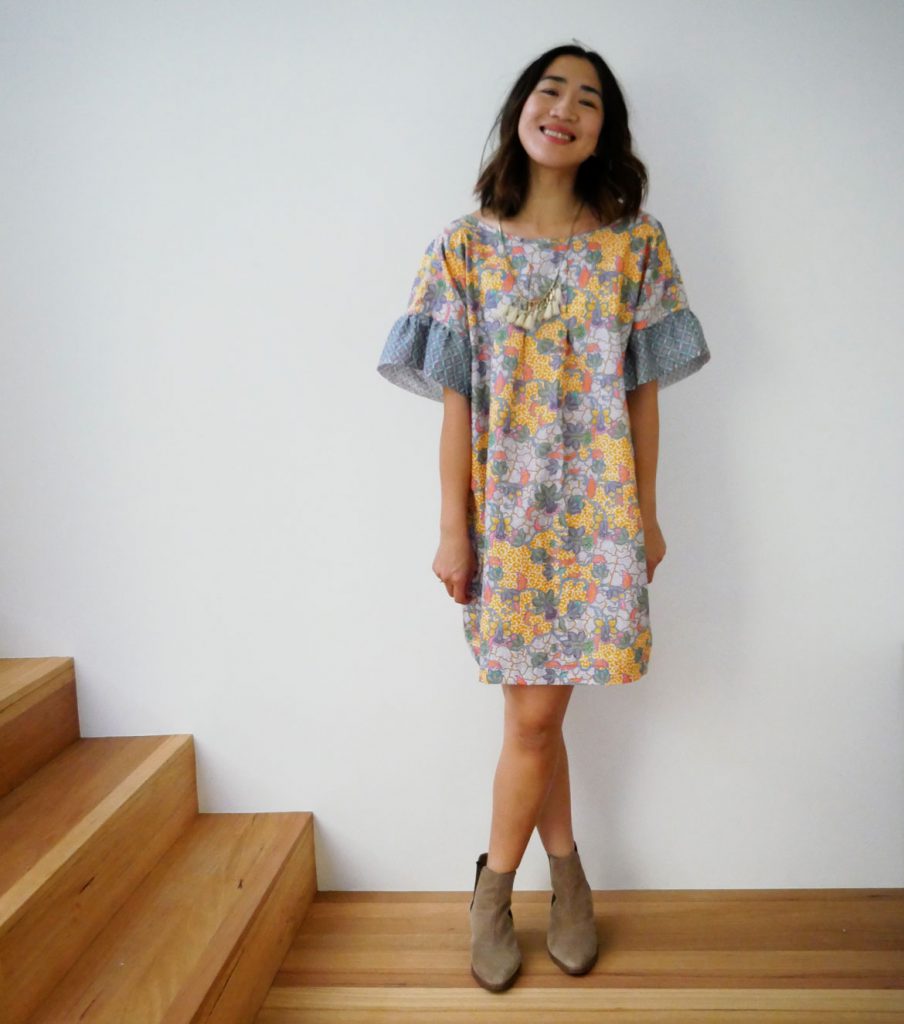
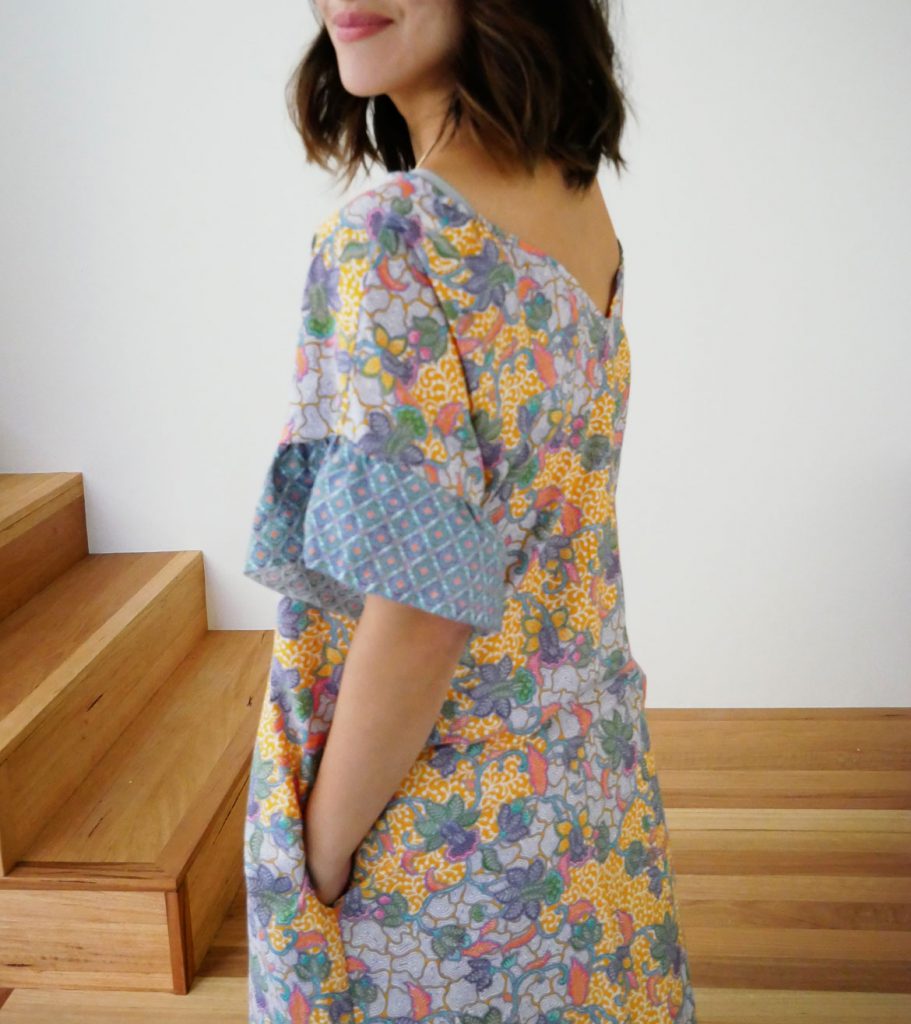
Step 1: Extend the Shoulder Line to Make a Dolman Sleeve
I started with the v-neck side of the Little Boxy Dress (LBD from now on) pattern, placing it along the fold of the fabric. Look at the photo below to see which line I am explaining in each step:
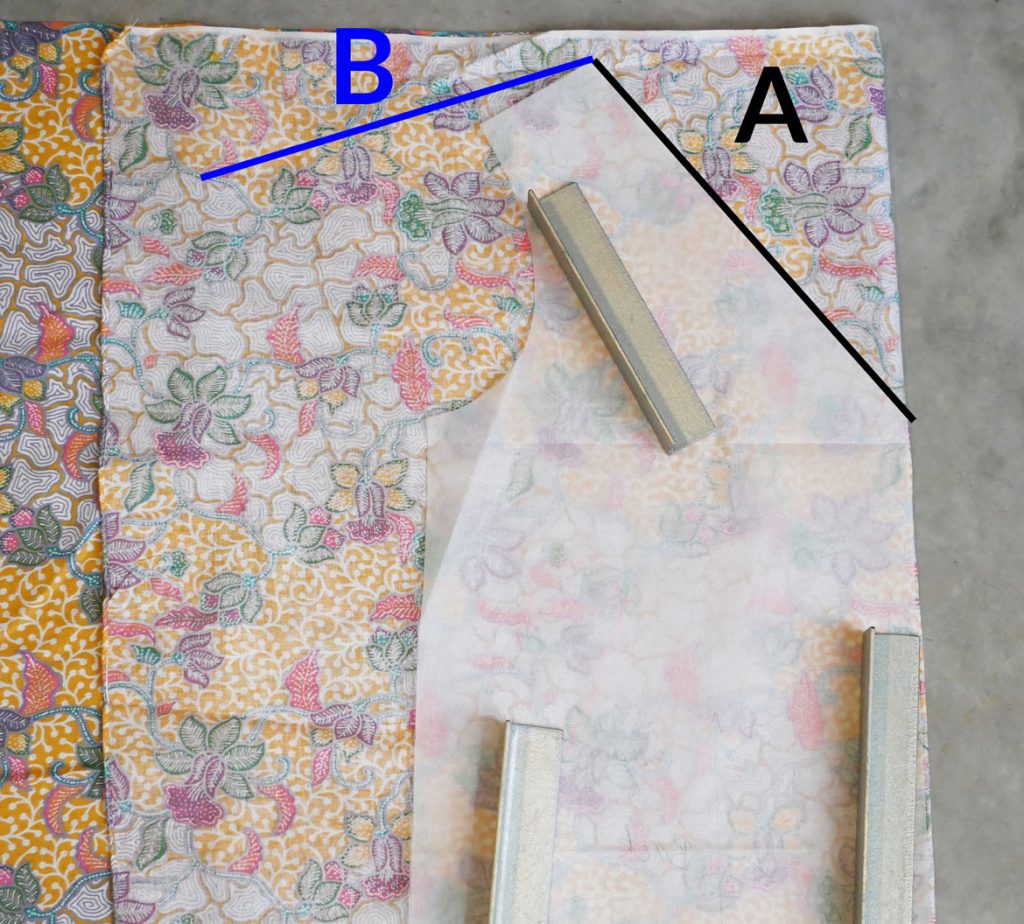
Trace the neckline without any changes (A).
We need to change the angle of the shoulder line (B) and also extend it to create the dolman sleeve (a dolman sleeve is like a kimono sleeve, in that it is drafted with the bodice). Note the angle change and the length change in the shoulder line (B).
Shoulder Angle - I copied the angle of the shoulder line (B) from dolman sleeve tops I own.
Shoulder Length - The length you extend it by depends on your arm length and where you want the sleeve to fall. Place a ruler along your shoulder to find out what length is best for you. I extended by shoulder line to 20cm.
Step 2: Increase the Dress Width
Since a dolman sleeve requires more space in the bodice, I increased the width of the dress by 5cm (2") by extending the side seam (C).
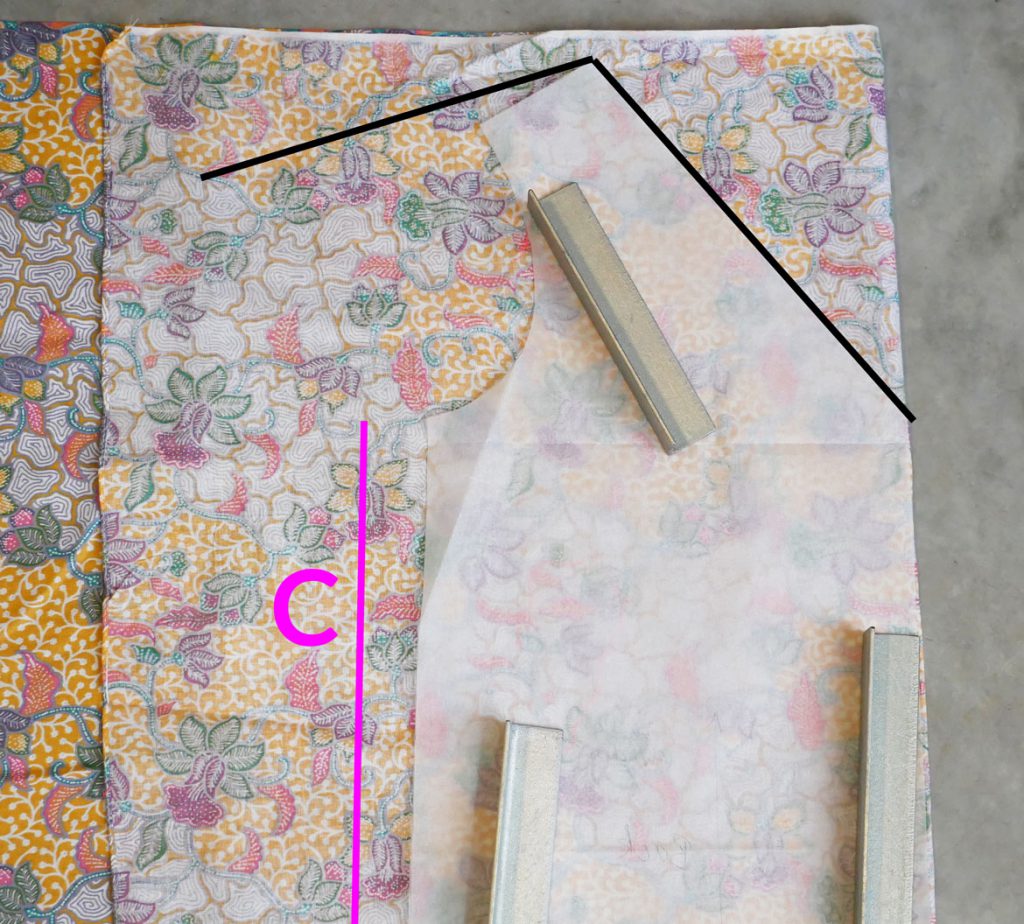
Remember, the pattern is cut on the fold, so any change you make here is reflected on the other side—this means my dress is now increased by 10cm on the FRONT side. When I repeat this change on the BACK, the total increase in the dress width will be 20cm (8").
Step 3: Extend the Sleeve Opening
Determine how wide you want your sleeve openings to be. This is where we will eventually add in the ruffles. I think it looks good if you try to keep it fairly similar in size to your shoulder length.
Sleeve Opening (D) - With a ruler, determine how much of an opening you would like for your sleeve. I made mine about 21cm (8 3/5") long.
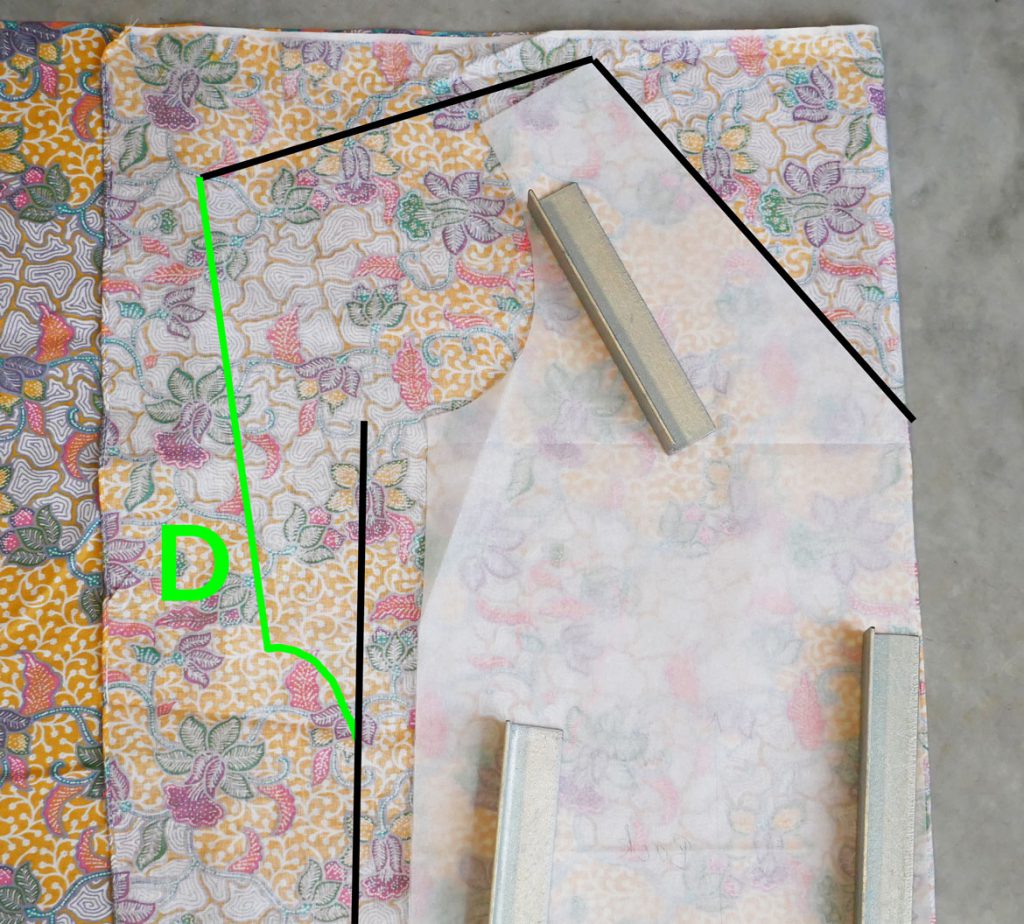
i. Draw your sleeve opening, at an angle that goes inwards towards the side seam. There needs to be enough room between the side seam and the sleeve opening to draw a curve, so play around with a ruler until you are happy with the gap.
ii. Draw a curve to join the side seam to the sleeve opening.
Remember to keep TWO things in mind:
- Sleeve opening should be angled towards the side seam.
- Leave a gap between the side seam and sleeve opening for a curve.
Make sure you join the free Little Boxy Dress workshop so you can make the basic sewing pattern to sew your ruffle dress:
Step 4: Cut Fabric and Copy to Back of Dress
Cut out your v-neck dress pattern piece, ensuring you add in seam allowances as per original instructions.
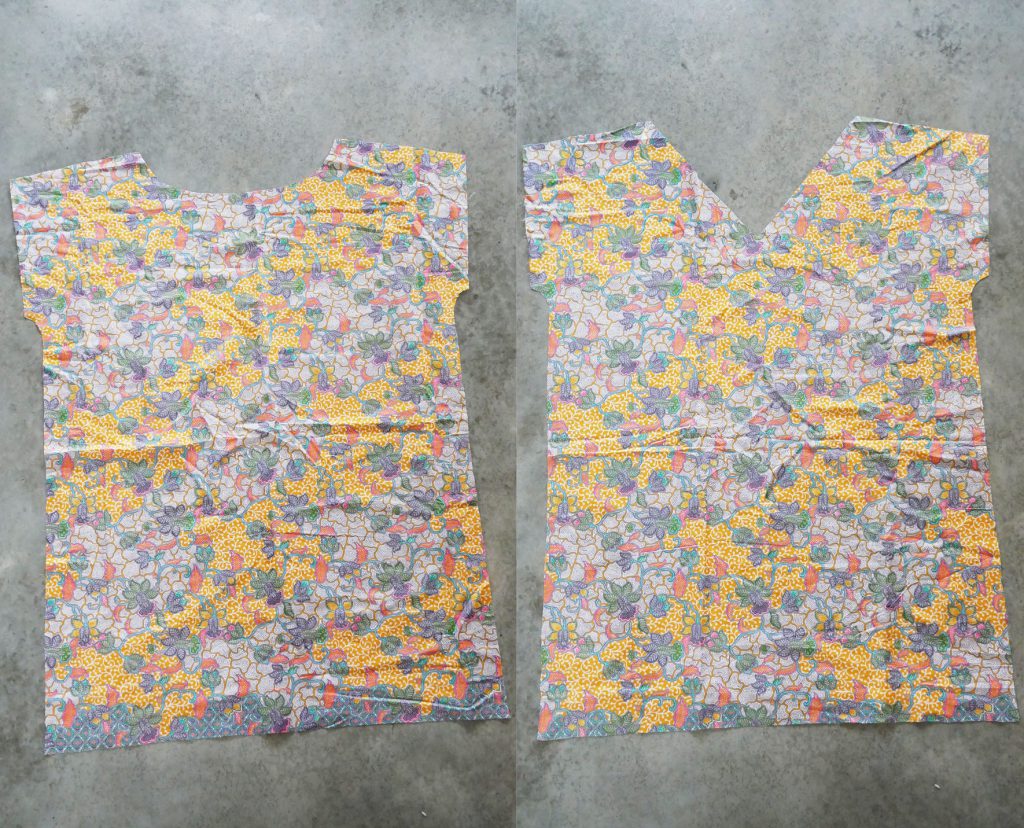
Copy the shoulder, sleeve opening and side seams to create the back of the dress. The crew neckline remains the same as the original LBD sewing pattern.
Cut the fabric. You now have a FRONT piece and BACK piece for the dress.
Step 5: Make the Ruffle Sleeves
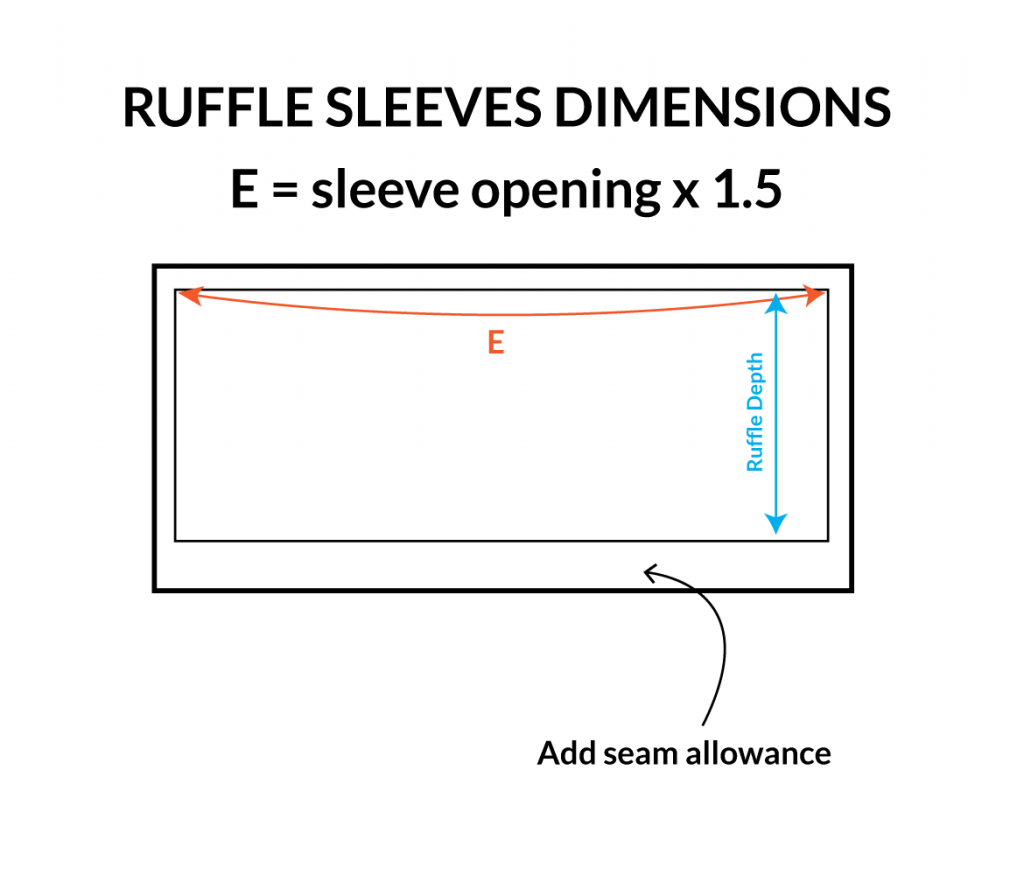
Let's calculate the length of the ruffles to attach to the sleeves. Multiply your sleeve opening (D) by 1.5 to get this measurement (E).
The depth of the sleeves is up to you—I made my ruffles 10cm deep.
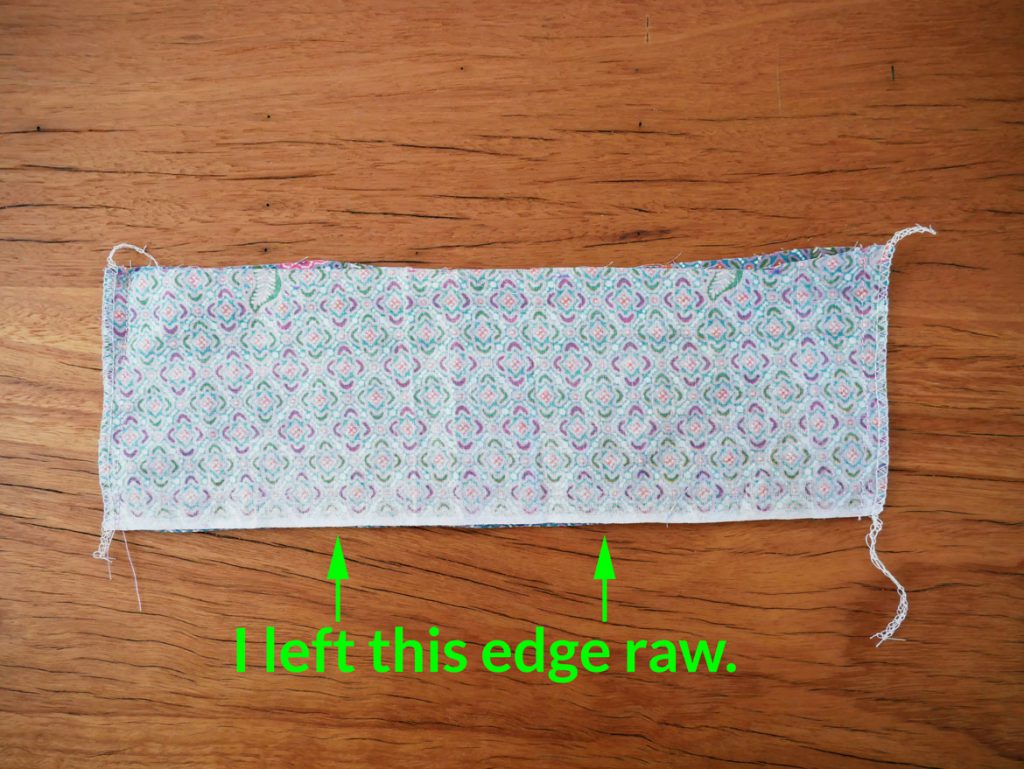
You will now need to add seam allowances of 1cm (3/5") on all edges of this rectangle. I left the outer edge raw, because my fabric had a selvedge border which didn't require finishing. You will need a 2cm (3/4") seam allowance on the outer edge of the ruffles if you need to create a folded hem.
Cut out FOUR ruffle sleeve pieces.
Step 6: Attach the Ruffle Sleeves
Stitch TWO ruffle sleeve pieces together along the shorter edges, and serge the seams together.
Finish the raw, outer edge if your fabric requires it with a folded hem. As I mentioned before, I left the selvedge edge as is for my ruffle sleeves, because the border print went right to the edge of the fabric.
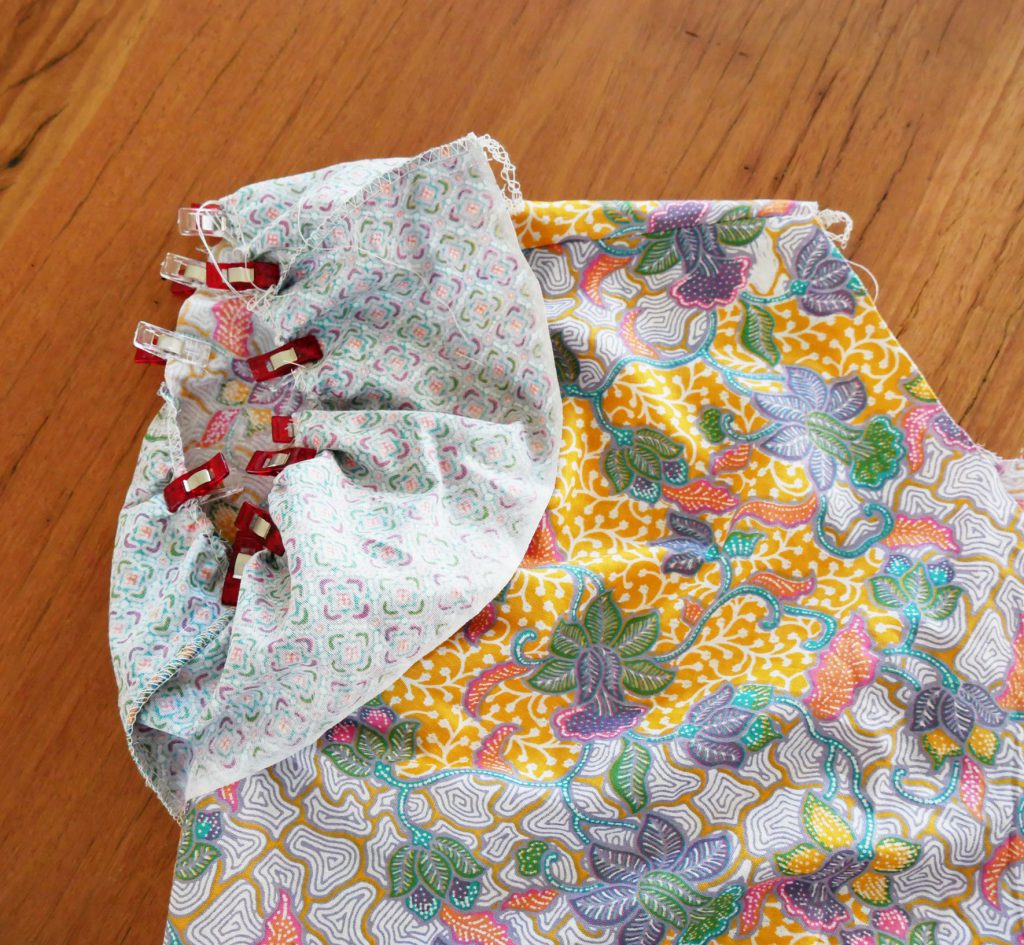
Gather the ruffles and attach them to the dress. Finish the seam with a zig-zag or serger stitch.
Step 7: Finish Sewing the Ruffle Sleeve Dress Pattern
The rest of the dress can be stitched up as per the original LBD instructions from the free online sewing workshop. I decided to add side seam pockets, which is one of the best things about sewing your own clothes!
My Modifications
I decided to finish the neckline with a, thicker, visible bias binding. I inserted some elastic near the shoulder seam as well, as I found the ruffles were dragging the shoulders down.
All these modifications were experimental, and I just let my creativity loose! I really hope you too can enjoy the pure joy of making, and let your imagination guide you.
This creative expression—to me—is the biggest benefit of sewing, and all things handmade. So, go have fun with just you and your sewing machine!
