Are you curious, but a little intimidated by Japanese sewing patterns? Those simple, understated designs, often touted as “origami for fabric”. Who wouldn’t want to give them a try?
Starting to sew Japanese patterns is like learning any other new skill. If you’re trying crochet for the first time, you start by getting inspired by other people’s projects, learn some basic stitches, then try an easy project. That first project is probably going to be a little wonky, maybe the tension will be inconsistent and you could have picked the wrong yarn / needle.
When I first started sewing Japanese patterns, I experienced the exact same beginner problems. I’ve wasted lots of time and fabric, leading to frustration, even though sewing is supposed to help me slow down and relax. Over the years, I’ve ironed out these common errors, and helped many of my readers overcome them too.
What if you could be aware of these common mistakes in advance?
Here are 7 common mistakes to avoid when trying Japanese sewing patterns:
Mistake 1: Not Double Checking Sizing (Don’t Forget Height in Centimetres)
Clothing sizes in Japan are small compared to Western countries, in both girth and height. For example, I wear a Size 4 (US) or Size 8 (Australia / UK) at a height of 164cm (5’4″). Growing up in Australia, I automatically go for Size Small or Extra Small when it comes to clothing. However, when I tried clothing on in Japan, I fit a Medium or Large sizes better.
Even if something fits you around the waist, you could find the sleeves and hem to be too short. That’s why it’s important to double check the sizing charts of sewing patterns. It’s easy to make an adjustment to fit your height, so pick a pattern size to fit you around the hips and waist.
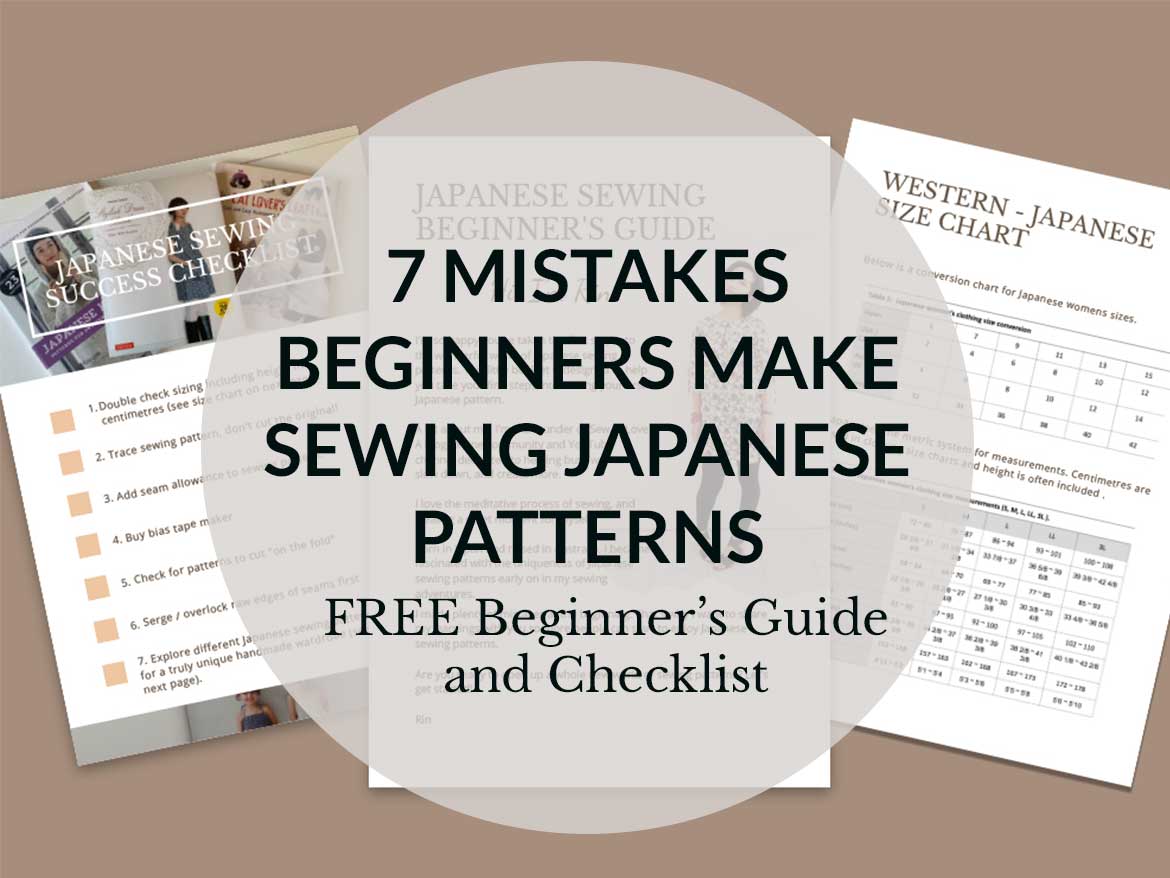
Download the free Japanese Sewing Beginner’s Guide which includes a Japanese-Western clothing size conversion chart.
Mistake 2: Cutting the Original Pattern—Always Trace!
When you buy a sewing pattern from Vogue, McCalls, etc, it comes in a tissue paper format. You then cut the pattern out for your size, and the rest of the pattern ends up in the garbage bin.
With Japanese sewing patterns, you never, ever cut the original pattern. They come printed with multiple sizes and designs on one sheet. You must trace the pattern on to tracing paper so you can keep the original pattern for future use.
Mistake 3: Forgetting to Add a Seam Allowance
My mum once told me about a time her Australian friend borrowed a Japanese sewing book from her. This friend came back saying the pattern was drafted wrong, because the garment was far too small for her, even though she double checked the size chart (see Mistake 1).
As it turned out, this friend didn’t know that the patterns did not include a seam allowance. You must add a seam allowance to the sewing pattern after you have traced it (see Mistake 2).
Majority of seam allowances are 1cm (approx 3⁄8”) for Japanese sewing patterns. However, the sewing instructions will include a diagram which shows you what all the seam allowances should be.
Mistake 4: Buying Bias Tape
Bias tape is often called for in Japanese sewing patterns to finish edges, including armholes and neck openings. You can either buy ready-made bias tape, or make your own. I prefer the latter, because it means you can match the exact fabric of the bias tape to the garment.
Making your own bias tape is very easy and quick if you have the right tool. A bias tape maker has been a game changer for me. It is essentially a small metal channel you pass a piece of thin fabric through. When you run your steam iron over the fabric, it results in the two folds of a bias tape.
The initial investment is definitely worth it, because purchasing ready-made bias tape can get expensive.
I own several different sizes of the Clover bias tape maker. If you only want to buy one, I suggest this size.
Mistake 5: Not Cutting Fabric “On the Fold”
The cutting diagram will show you where to place your sewing patterns on a piece of fabric. The symbol “わ” (wa) is used to show you where the pattern piece should be placed on a folded piece of fabric. “Wa” means circle, ring or loop in Japanese.
Below is an example of a cutting diagram for a tee shirt. The symbol “” can be seen at the centreline, showing you where to place the pattern on the fold of the fabric.
This image is an excerpt from my e-book, How to Sew Japanese Sewing Patterns.

Mistake 6: Finishing Raw Edges at the Wrong Time
The instructions of a Japanese sewing pattern leaves you with no guesses. It will tell you when to finish raw edges in the sewing process, for the neatest outcome.
Why is this so important, you ask? It’s because whether you finish the raw edge BEFORE (image, below left) or AFTER (image, below right) you sew two pieces of fabric together will affect how the seams sit inside the garment.
This image is an excerpt from my e-book, How to Sew Japanese Sewing Patterns.

Mistake 7: Only Trying Translated Patterns
A handful of Japanese sewing pattern books have been translated to English. But once you start exploring all of the publications available, you really are going to enter a whole new world of sewing. I’m especially fond of the books catering to the more grown-up, classy dresser (think age 35+) with understated and modest linen styles. I also love the children’s clothing patterns which are completely unlike anything available in English.
By venturing into Japanese sewing patterns, you can start to build a truly unique handmade wardrobe. How very exciting!


