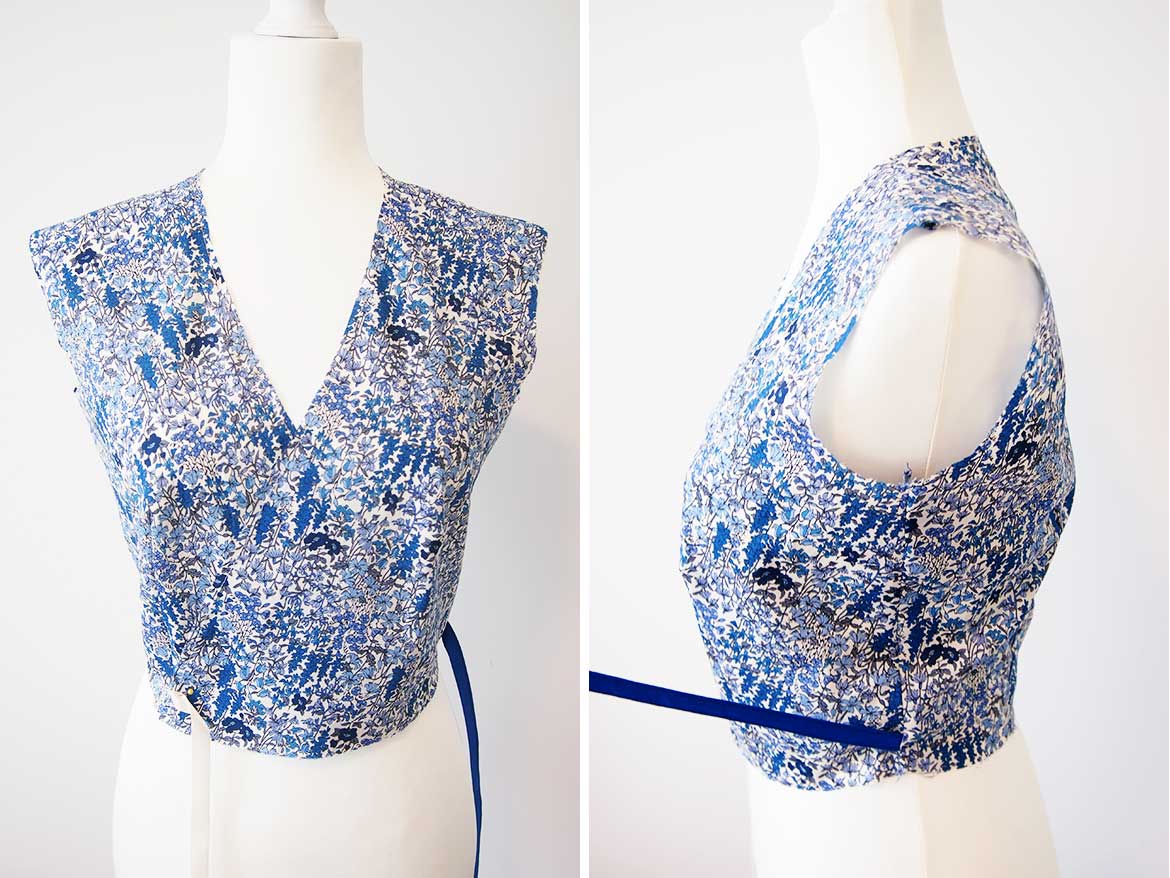
We are sewing McCalls Patterns M6959 Dress A in this Sew-along. In Part 2, let’s sew the bodice.
{UPDATE} Well done to everyone who’s finished making this dress! Read all the other blog posts in this sew-along:
- Introduction to McCalls Patterns M6959 Wrap Dress Sew-Along
- McCalls Patterns M6959 Sew-Along Part 1: Pattern Cutting
- McCalls Patterns M6959 Sew-Along Part 2: Bodice
- Part 3 McCalls Patterns M6959 Sew-Along: Adding Sleeves
- Part 4 (final) McCalls Patterns M6959 Sew-Along: Wrap Dress is Complete!
Before You Start
Constructing the garment is the most fun part of sewing clothes, but before I got all carried away, I decided to prep all the pattern pieces. By this, I mean I went and serged along the edges of the pattern pieces which would later be pressed open as seams. From reading ahead in the sewing instructions and studying the diagrams, it looks like the shoulder edges and all side seams should be serged first (?). Hopefully, I’ve guessed correctly!
I really wish McCalls included this information in the sewing instructions. This is another reason why I love Japanese sewing patterns because there’s never any guess work involved. At the beginning of the sewing instructions, it always tells you (and displays in a diagram) exactly which edges of your pattern pieces need to be serged before you start sewing.
If you don’t have a serger/overlocker machine, you can zig-zag stitch along the edge of the fabric instead.
Front Bodice Darts
I always find sewing darts to very fiddly, especially bulky darts like the two on our front bodice. Basting the darts in place with hand stitches before machine stitching is an absolute must. Here’s a wonderful sewing tutorial on how to sew a dart and reduce dart bulk by Inseam Studios.
I went an extra step further and stitched over the raw edges of the trimmed darts. My fabric (cotton lawn) seems especially prone to fraying! Using the overedge foot on my machine, I carefully went over the seams with an overcasting stitch.

Waist Ties
The instructions for making and attaching the bias binding waist ties are pretty simple, but I just wanted to show you this picture of me making my ties using Wonder Clips. They are SO useful! I bought my Wonder Clips on Amazon . They are especially good for holding multiple layers of fabric together. Ever since I bought them for making my baby changing pad, I’ve been using them in lots of projects.

McCalls suggests using ribbon for the inner waist ties. A Sew in Love reader, Amanda, has come up with the genius idea of making your own ties out of the same dress fabric. That way, the inside of the dress looks just as good as the outside! I didn’t have the time to make my own fabric ties (my excuse is that I have a 4 months old baby) but I think this is a great idea so I wanted to pass it on 😀
Adjustments to the Pattern
Before cutting away the neck and front edges (Step 6 on the Dress A Sewing Instructions), I tried on the bodice. Good thing I did, because the neckline seemed WAY too low on my body! So instead of basting the neckline at 2cm(3/4″) from the edge, I basted at 1.5cm(5/8″) instead. This gives me an extra 0.5cm(1/5″) of added coverage around the neckline and bust opening. I just have to remember to adjust the seams when stitching the skirt pieces so that the side seams of the bodice and skirt match up correctly.


Up Next…
In Part 3, let’s make the sleeves and attach them to the bodice. See you next week!
Are you happy with the bodice’s fit? What changes are you making to the bodice?

6 comments
I still haven’t gotten around to cutting out my pattern yet! I’m still trying to decide which one will be the most flattering. This is always my problem. I always get nervous about which fabric to cut!!! Are any other new sewists like this? Getting stuck before we even start!
I love you’d the tips about trying on the bodice first & making that ties out of the same fabric as the dress! Now I just have to figure out how to do that and I’m all set!
Thanks so much! You are awesome.
Kenya, you can make the ties just like you would make bias tube trim, or just on the straight of grain if you don’t want any stretch in the ties.
I’m with you on the fabric dilemma. I have two goooorgeous double gauze prints, and only this morning did I finally make up my mind which to use!
*Note to self: remember to check bodice fit, as Rin suggests, lest the neckline fall too low for my comfort zone*
Thanks Liz! I totally agree just making the fabric ties just like bias tape 😀
The bias tape maker (if you have one) would be pretty handy for this I reckon.
I did cut the bodice neck line to the suggested amount. Now I am not so sure that is wise. The neck line sits well when standing but gapes open very indiscreetly when sitting down. The only way to avoid exposure would be to pin the bodice together with a broach or add a snap.
[…] McCalls Patterns M6959 Sew-Along Part 2: Bodice […]
[…] McCalls Patterns M6959 Sew-Along Part 2: Bodice […]